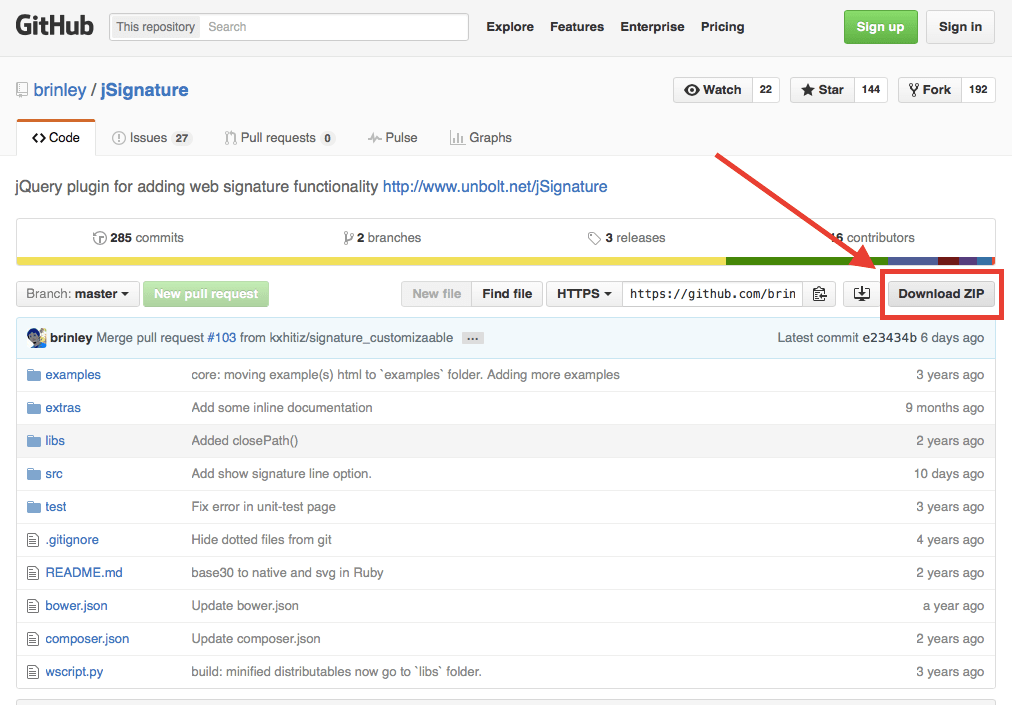
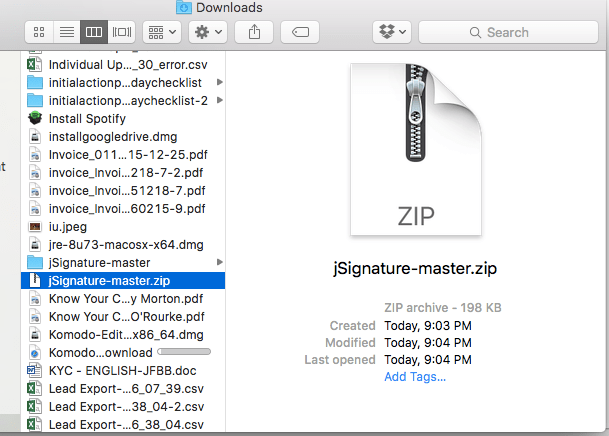
Step 1: Download jSignature ZIP file from GitHub
Step 2: Upload ZIP File to Salesforce as a Static Resource
- Search for Static Resources
Go to Setup –> Search for ‘Static Resources’ - Create new Static Resource
- Name the Static Resource jSignatureMaster
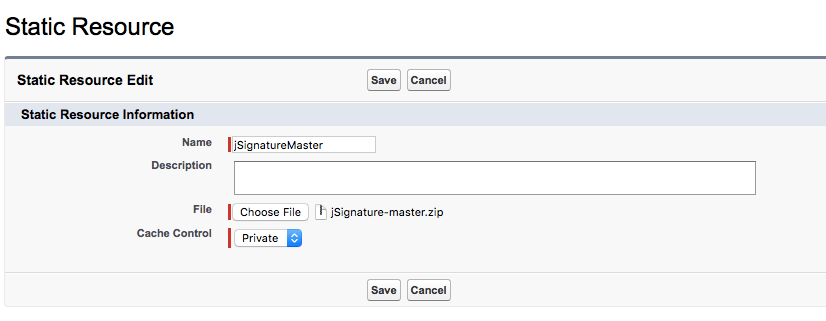
Name –> jSignatureMaster - Upload ZIP file
Upload entire jSignature ZIP file…not just one of the individual files enclosed in the ZIP file - Save
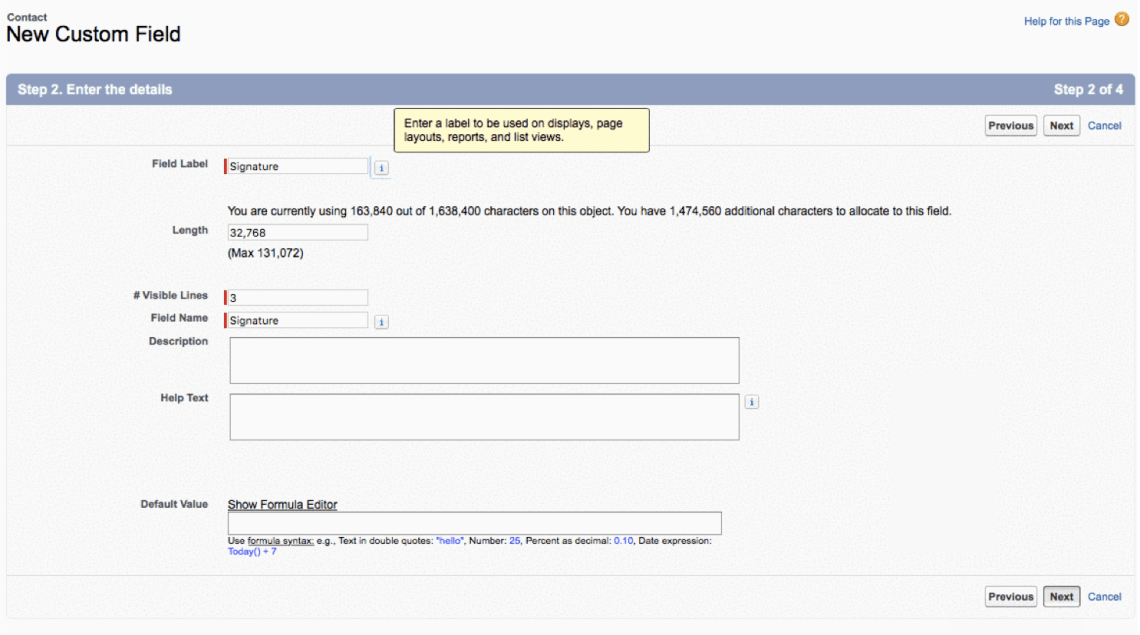
Step 3: Create a custom Signature field
- Create Text Area (Long) field
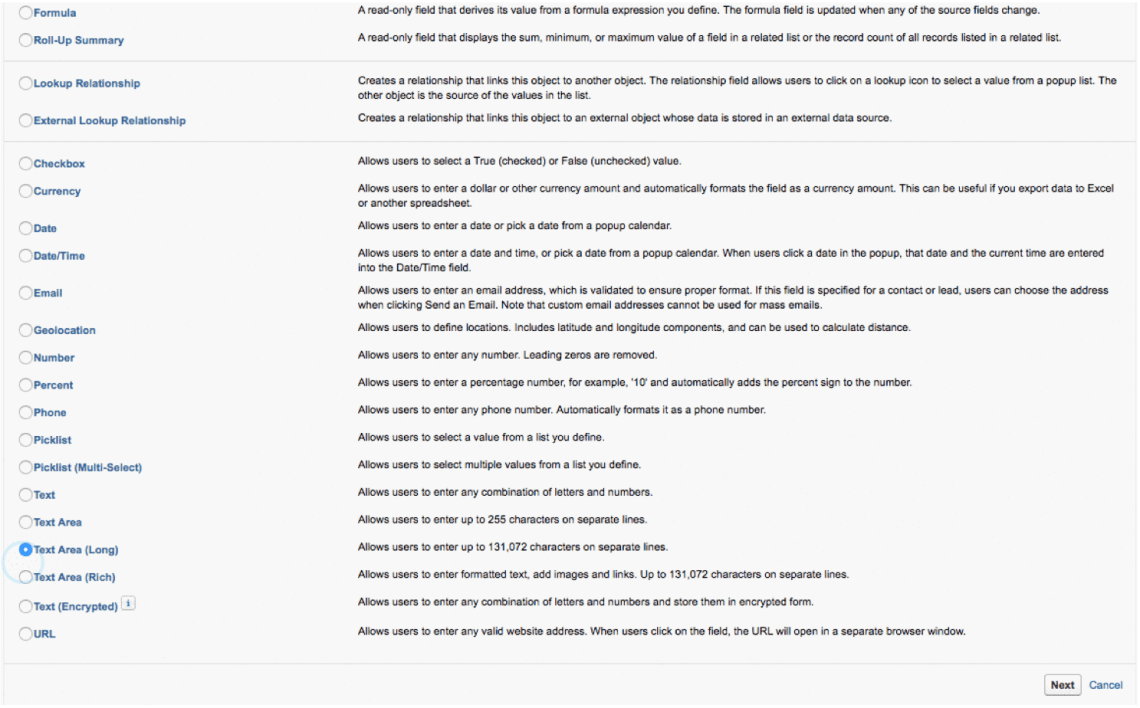
Type –> Text Area (Long) - Name the field Signature
Step 4: Add the Signature Field to your Model
Step 5: Add 2 Components to the Skuid page where you want your Electronic Signature
- Page Title
- Add 2 Buttons: Save Signature & Erase Signature
- Custom Component (under Components “Advanced” section)
Step 6: Add 4 JavaScript Resources to your Skuid Page
- (Static Resource) jSignature Master
- Resource Location: Static Resource
- Resource Name: jSignatureMaster
- Note: Must have exact same name as Static Resource from Step 2
- File Path: jSignature-Master/libs/jSignature.min.noconflict.js
- (Component) Sign
- Resource Location: In-Line (Component)
- Component Name: Sign
- Component Body: Click here for JS code for Signature Component
- (Snippet) saveSignature
- Resource Location: In-Line (Snippet)
- Snippet Name: saveSignature
- Snippet Body: Click here for JS code for saveSignature Snippet
- (Snippet) clearSignature
- Resource Location: In-Line (Snippet)
- Snippet Name: clearSignature
- Snippet Body: Click here for JS code for clearSignature Snippet
Step 7: Assign JavaScript Resources to your Page’s Components
- Save Signature Button
- assign Snippet Name: saveSignature
- Erase Signature Button
- assign Snippet Name: clearSignature
- Custom Component
- assign Component Type: Sign
- assign Unique Id: idSign
Step 8: Preview
Voila! You can sign your name using your mouse…admittedly signing with a mouse never looks that natural….
…but the good news is that your page will work on mobile as well, so you can sign using your finger on a touchscreen device…which looks a little more natural.
Many thanks to Peter for being so kind to share his very useful solution with the community. I noticed many others have expressed interest in replicating it in their own pages, but have struggled to correctly implement it. As I was able to successfully implement into my own page, I have created this tutorial so that others may also benefit. I would love to see this solution expanded upon (e.g. packaged and shared as a declarative custom component, read-only, mobile optimized, etc.).
Since I am not a JavaScript developer, chances are highly likely that I will not be able to answer any questions related to the code. Please refer any of those questions back to Peter Baeza who developed this solution…or hopefully other developers will be willing to help. However, if you have questions about this exact example, feel free to let me know and I’ll answer as best as I can.
Cheers,
Conlan O’Rourke
